General settings
1/ Price format: how the price of the composite is displayed in the shop archive page:
- From regular price: From $49 (regular price)
- From sale price: From $45 (sale price)
- Regular & sale price:
$49$45.

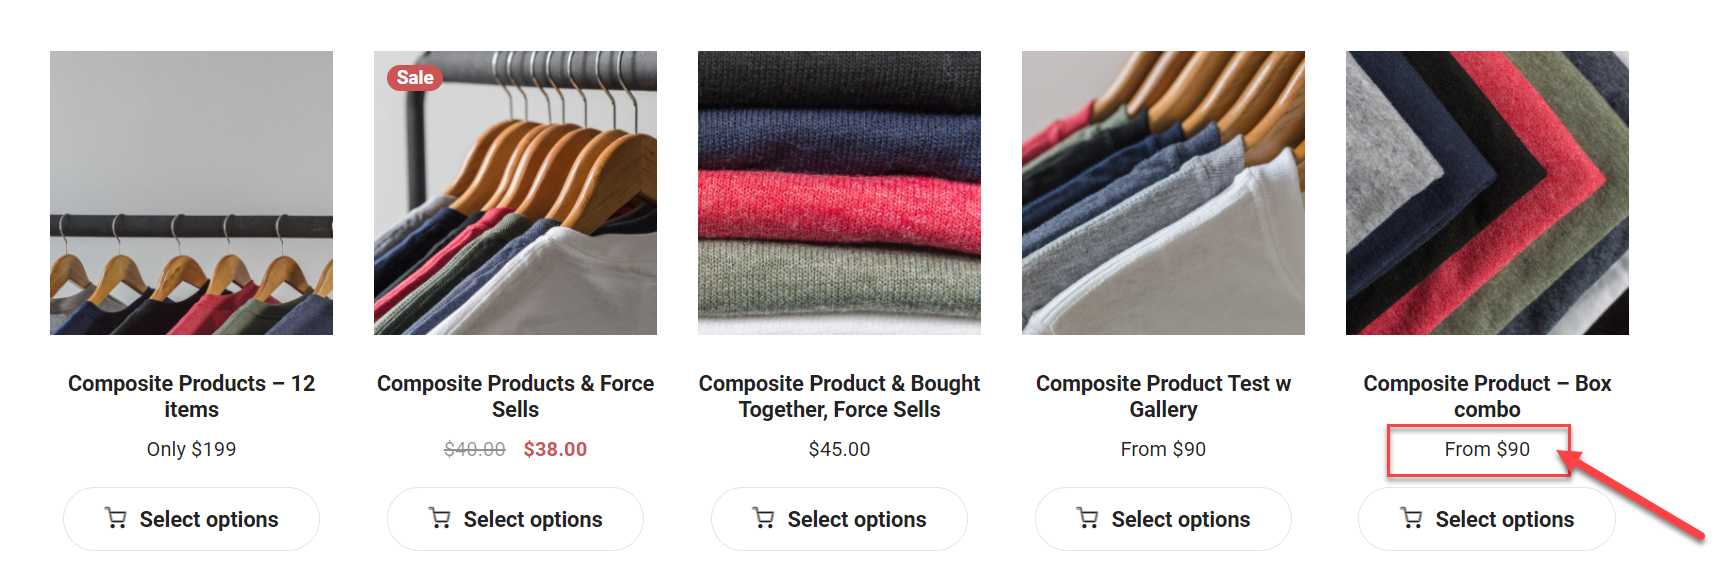
If you want to customize the price display on the composite product page & shop archive, please enter it in the “Custom display price” box of the Product data section on the composite page.
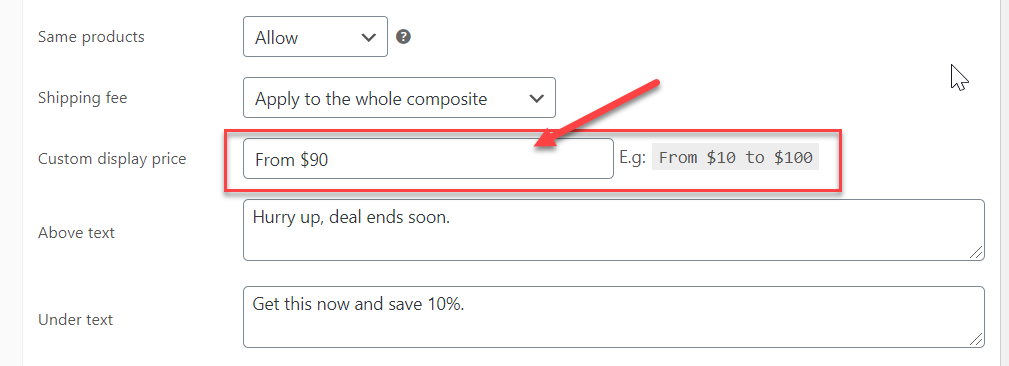
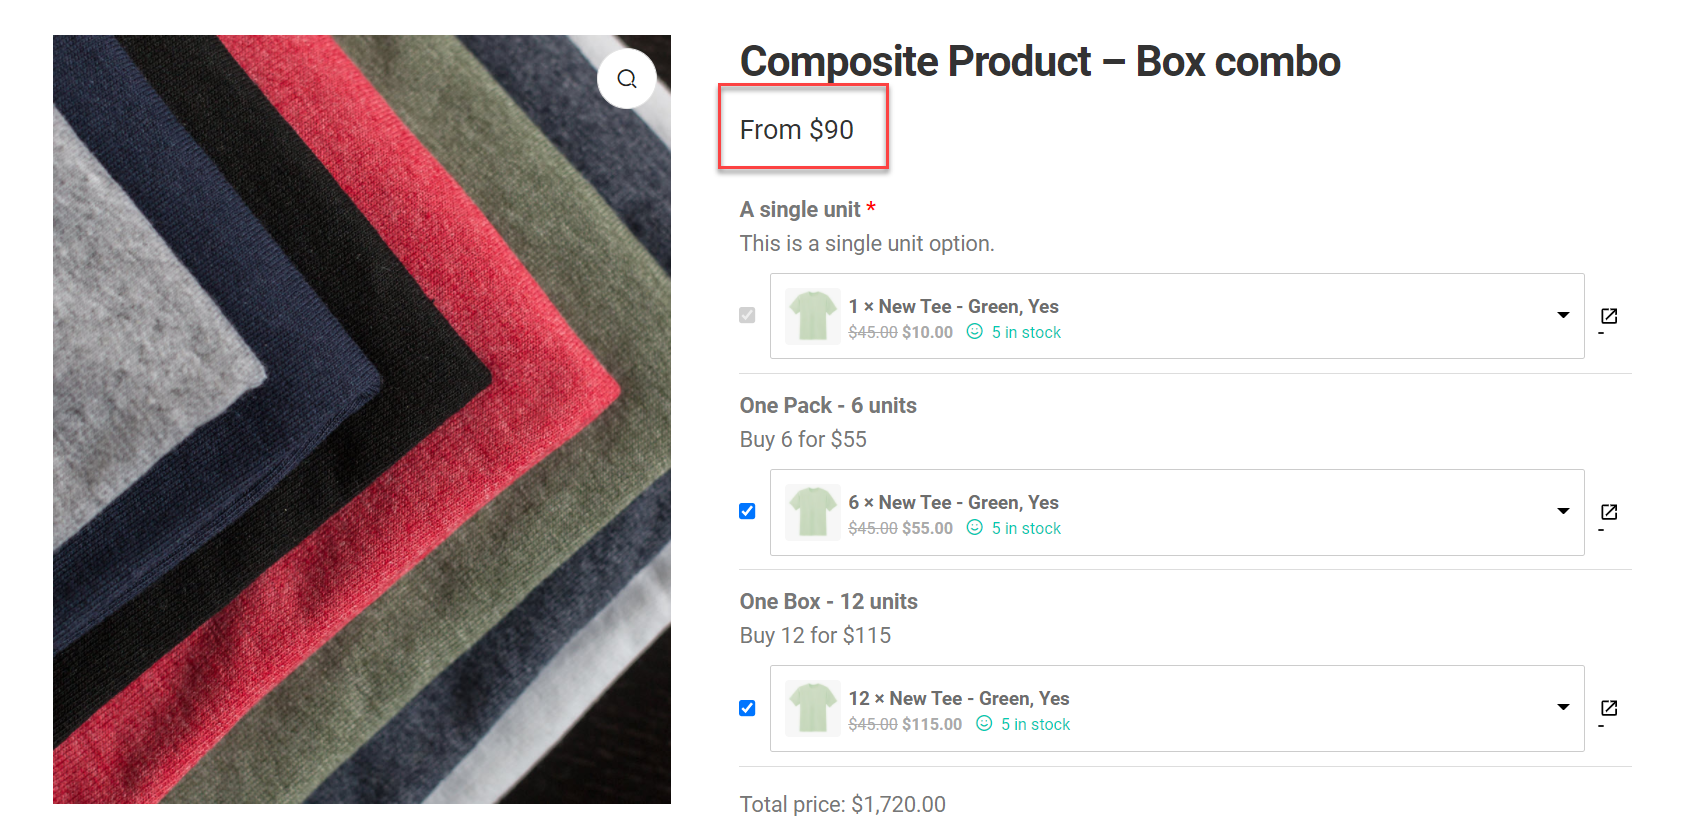
NOTE: Custom price cannot be displayed on the composite page if you enabled the Change price option to show have the price updated dynamically. However, the custom price can still be displayed on shop archive.
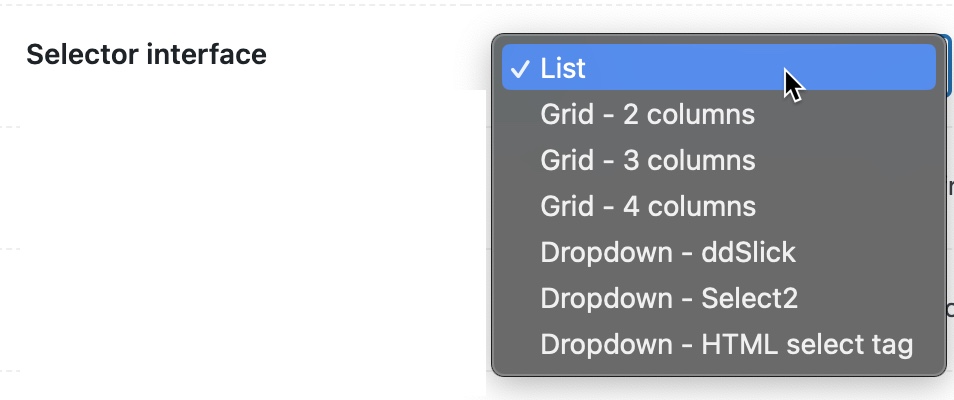
2/ Selector interface: WPC Composite Products has 4 integrated selector interfaces:
- List >> this layout is available from version 7.1.0 and later
- Dropdown – ddSlick
- Dropdown – Select2
- Dropdown – HTML select tags
- Grid (2,3,4 columns) >> this layout is available from version 6.2.0 and later

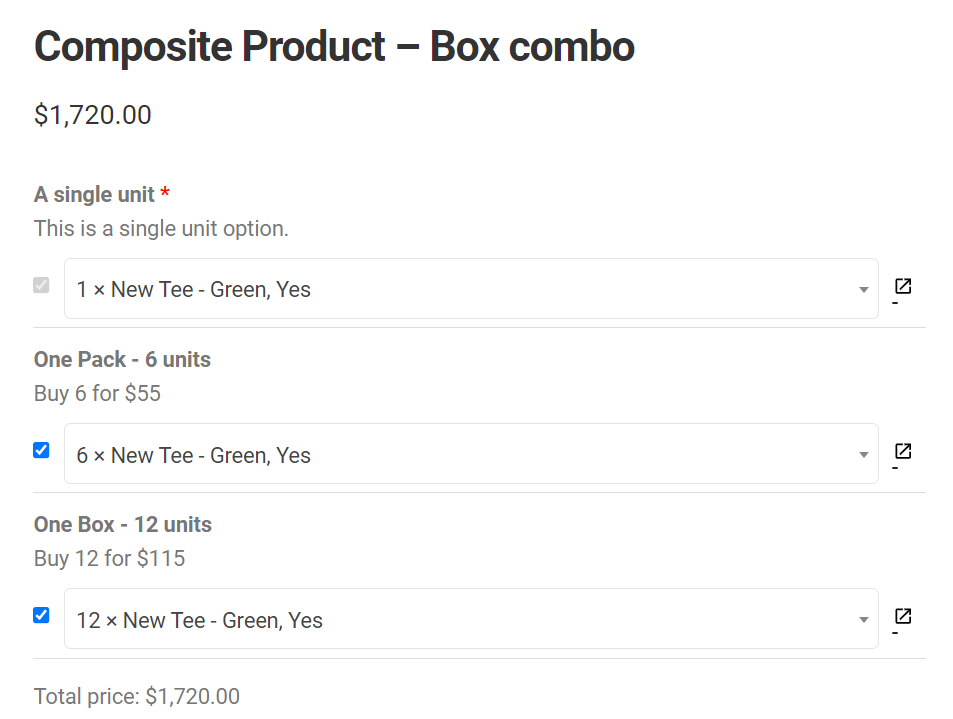

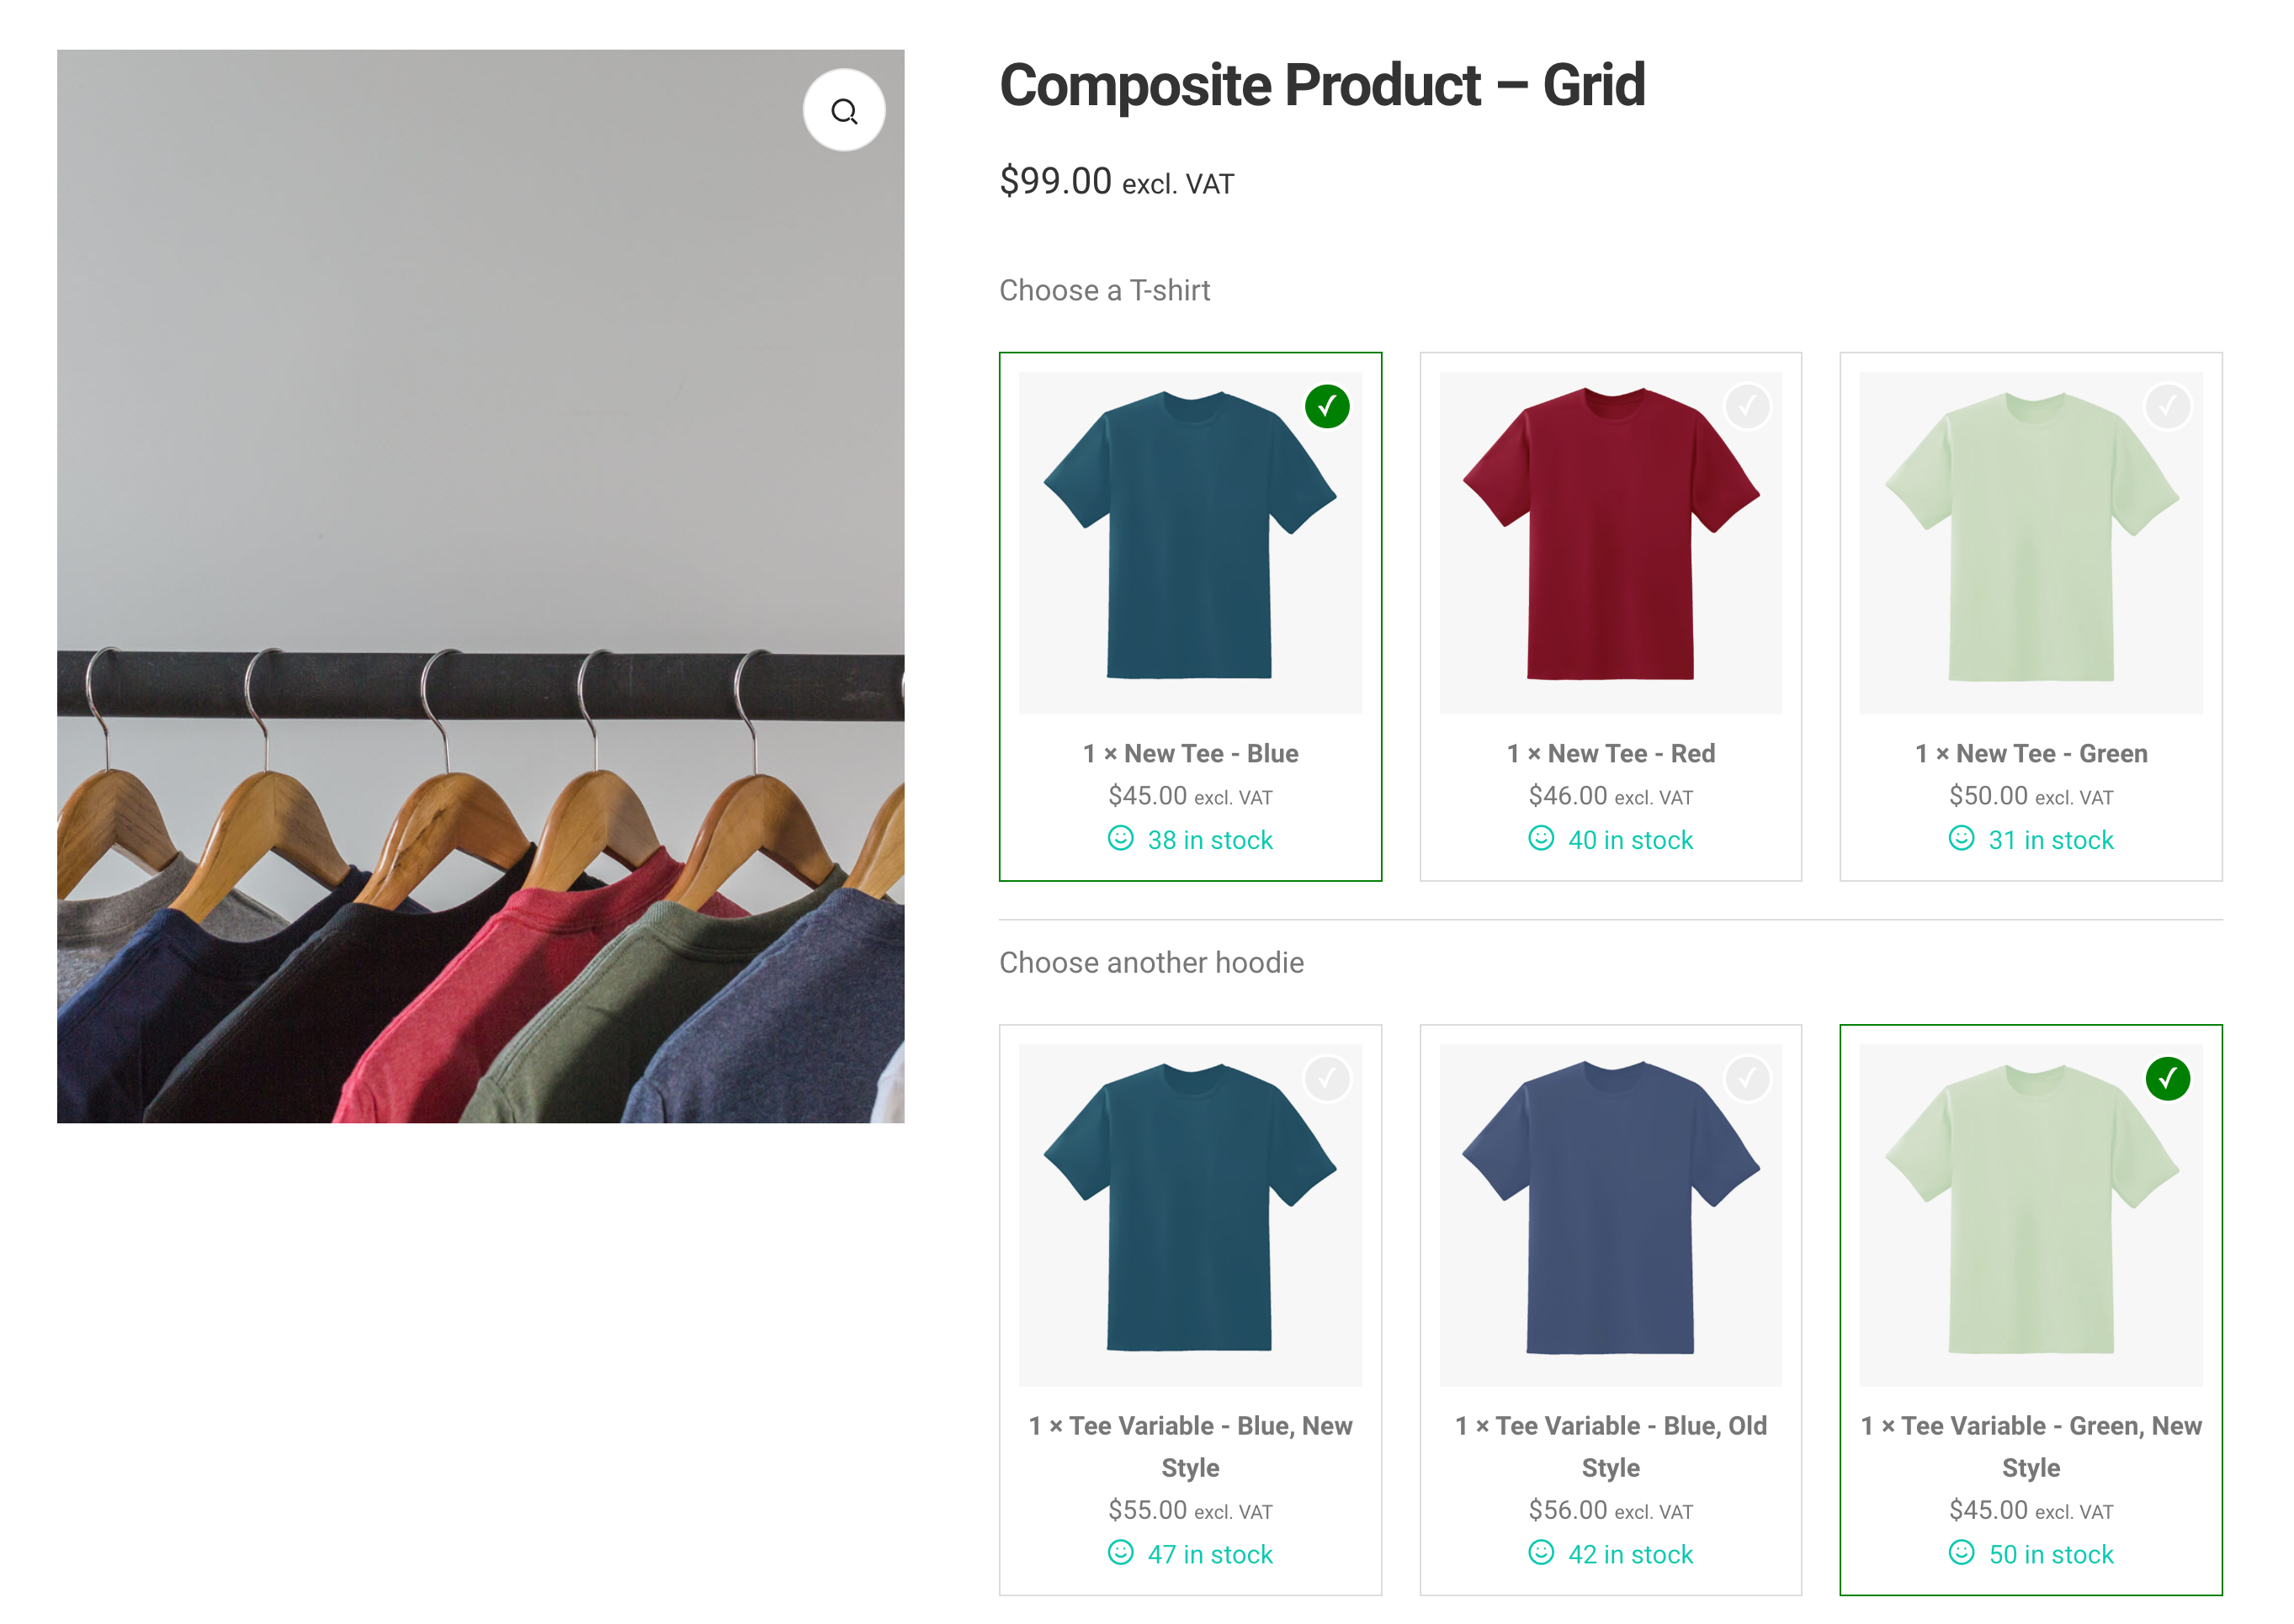
The Grid layout for components is available in version 6.2.0 or later
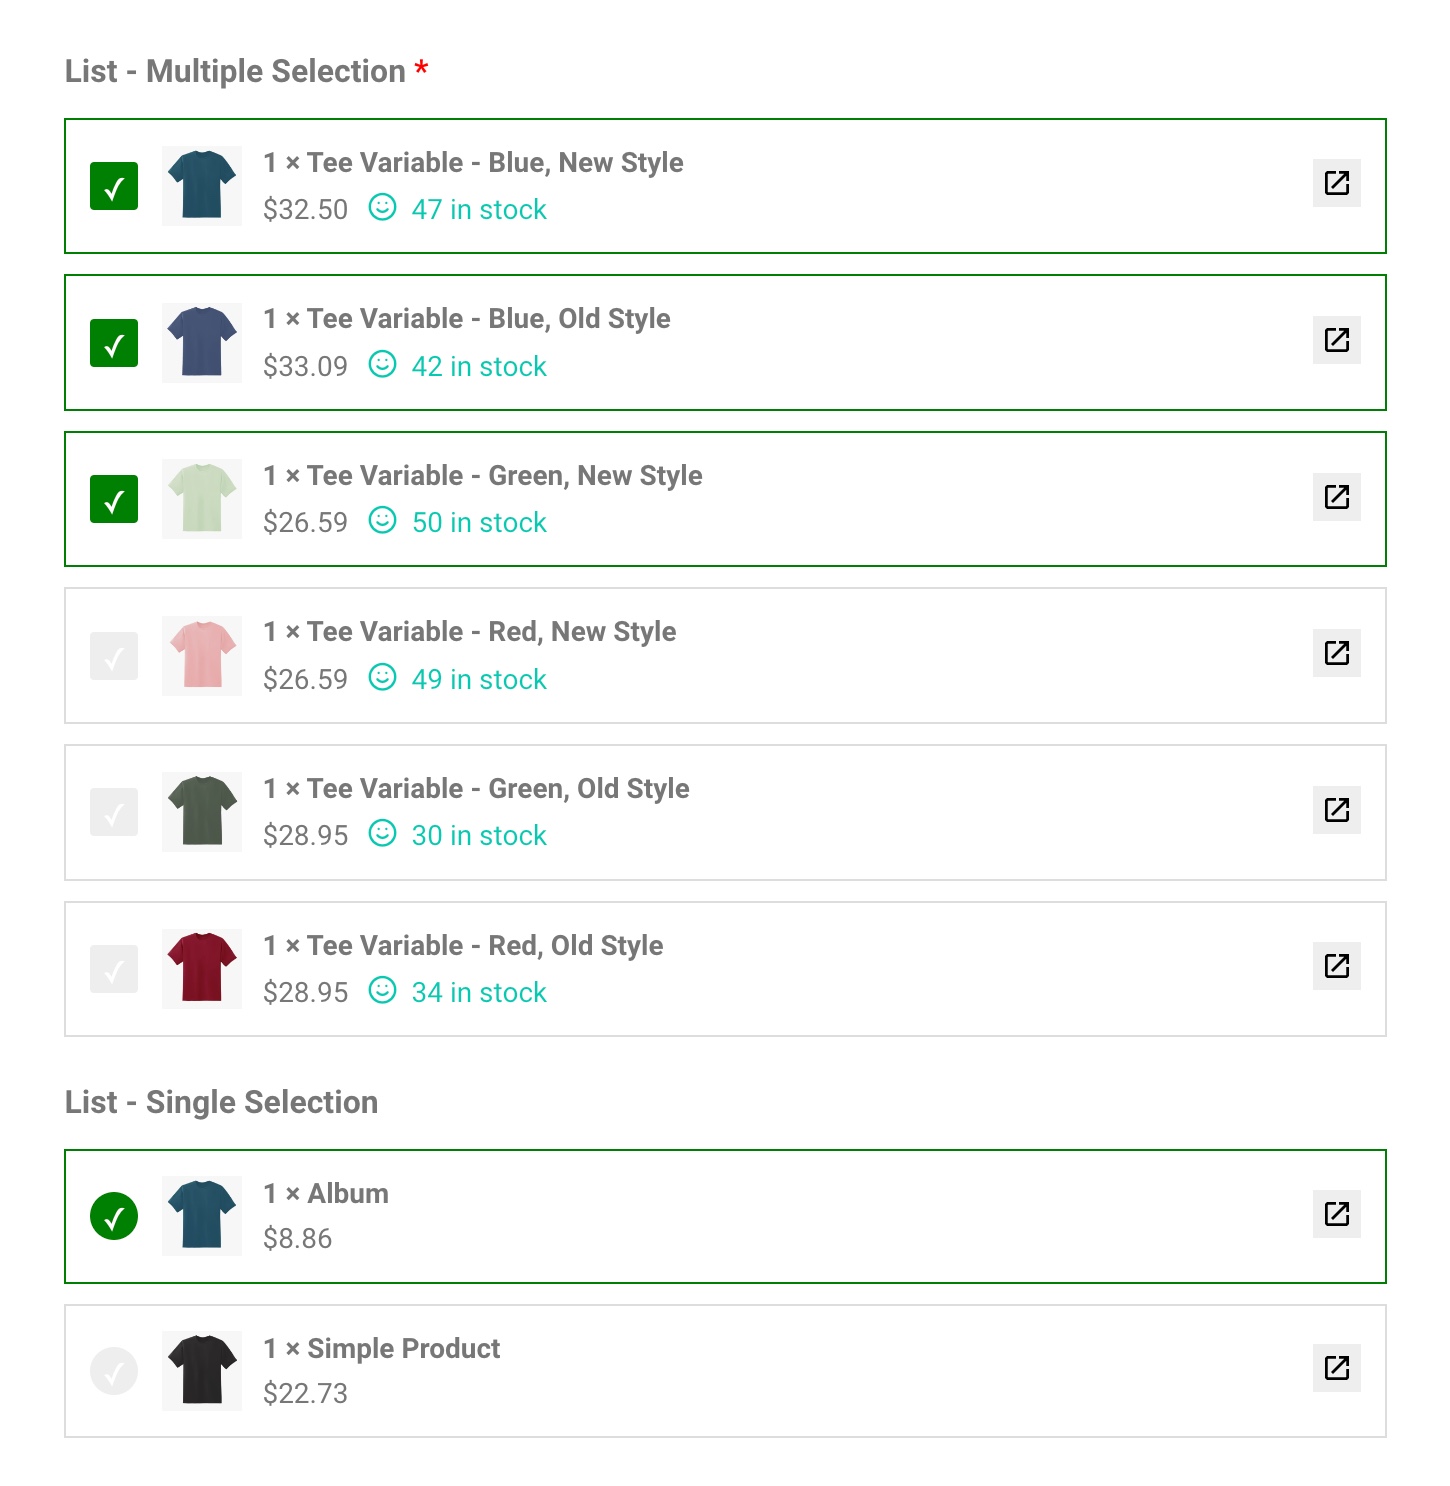
The List layout is available since version 7.1.0
3/ Exclude hidden & unpurchasable: Choose “Yes” to enable automatic removal of hidden or unpurchasable products from the components’ list of items. When this is enabled, it keeps your composite product always in stock with purchasable items listed in the frontend. By default, these two options are disabled.

4/ Show alert: Choose when to show the alert of product choice (min/max or reminder of choice for buyers).
- On composite loaded: The alert is visible right when the composite product page is loaded.
- On composite changing: The alert only appears to remind buyers of the conditions that must be met before adding the composite to the cart.
- No, always hide the alert: Do not show the alert anyhow.

5/ Show quantity: Choose “Yes” to show the quantity of each component or “No” to hide it on the composite page.
6/ Show/hide images & prices:
Show image: Choose “Yes” to show the thumbnail image of components or “No” to hide it on the composite page.
Show price: Choose “Yes” to show the price of the components or “No” to hide it on the composite page.

For example, if you choose “No” in the “Show price” & “Show image” options, the result will be:

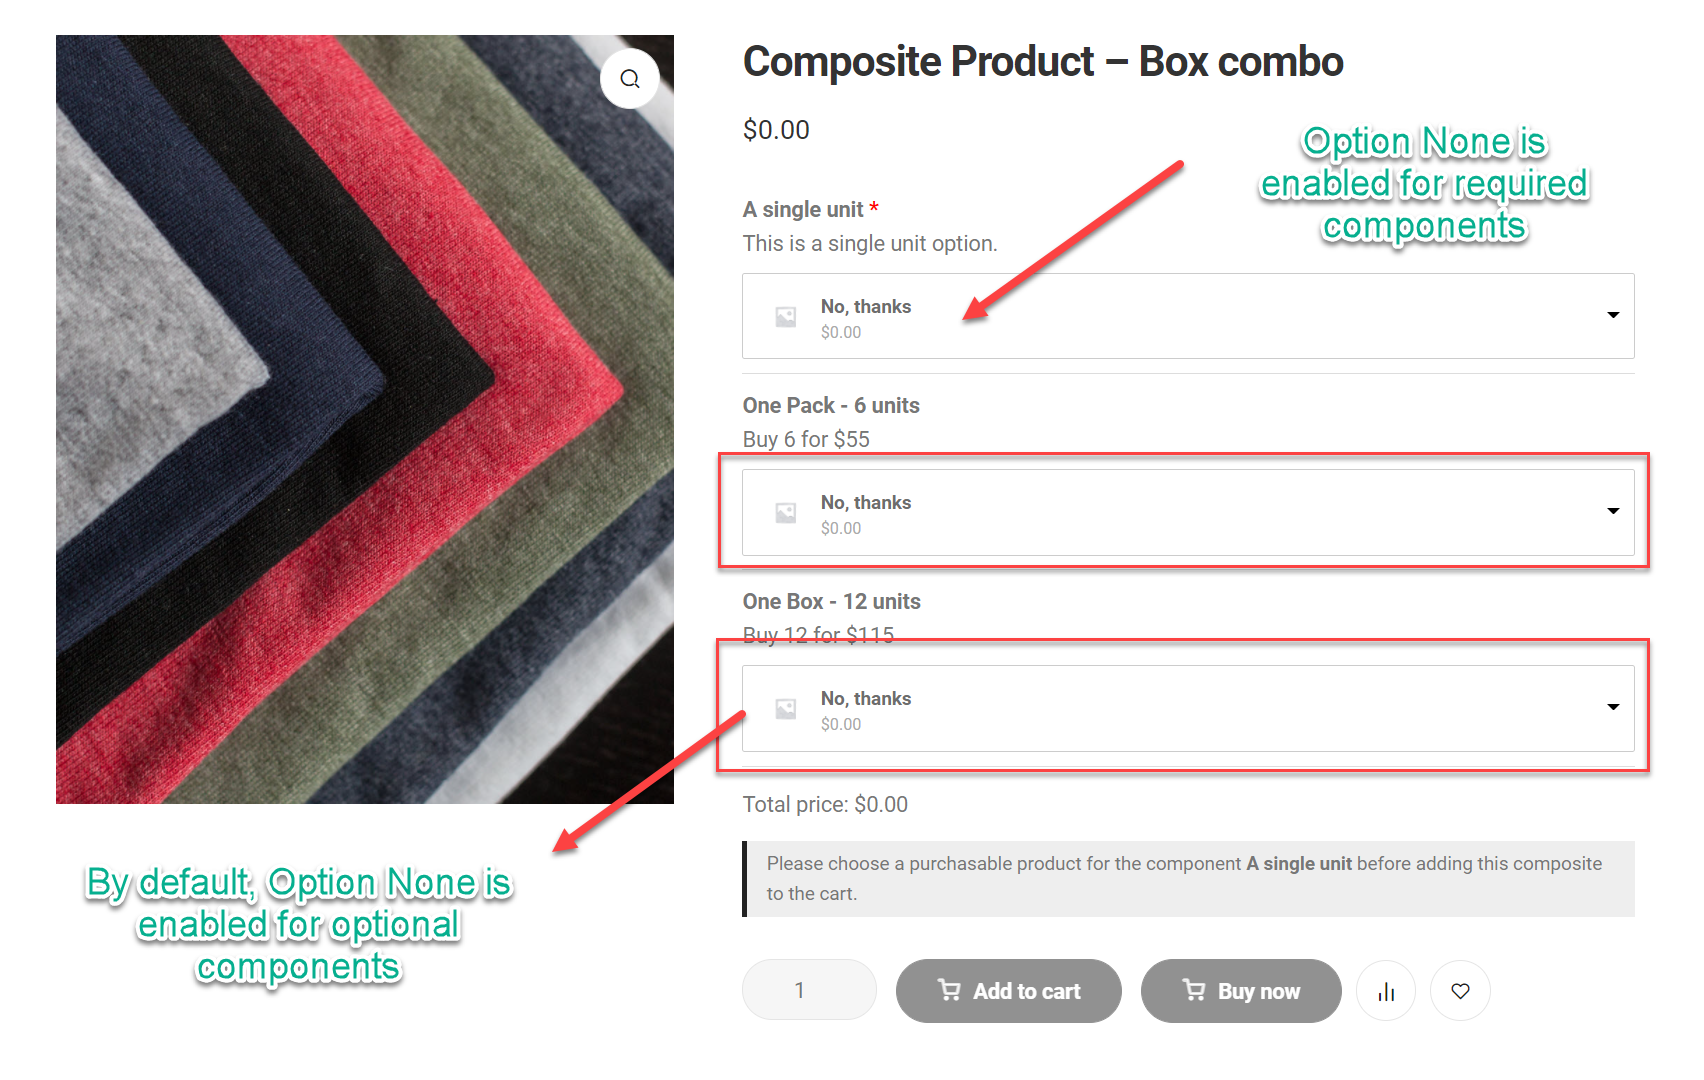
7/ Option none: This option is to tell buyers that they don’t choose any item and want to remove an optional component from the order.

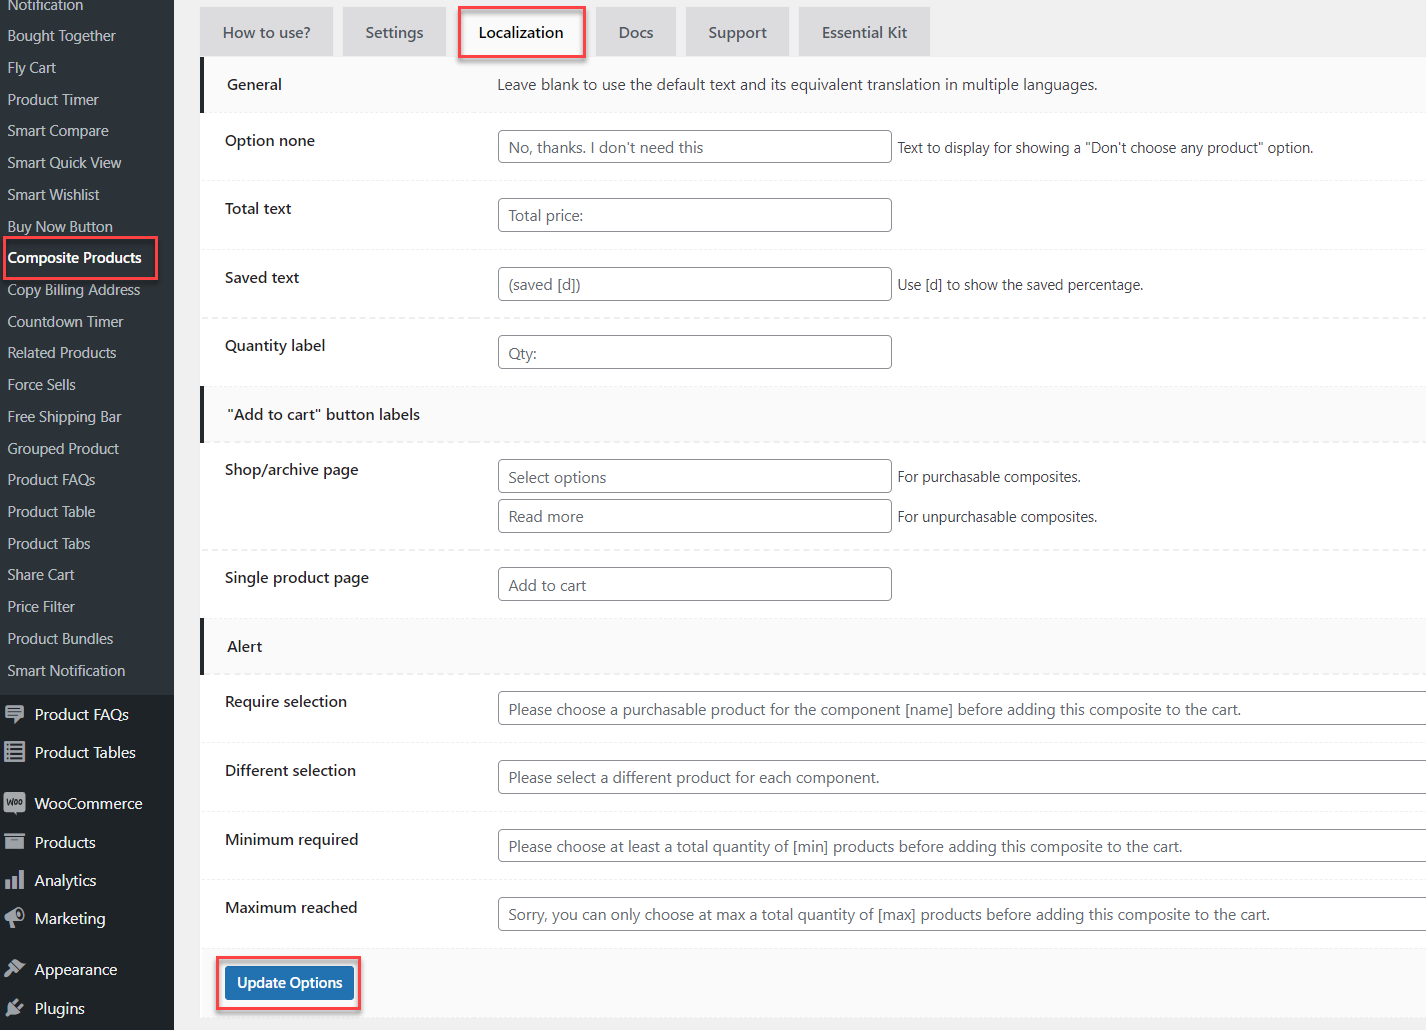
You can change the option text by entering a new phrase in the Localization tab.
8/ Show Option none for required components: Show the “Option none” choice for required components as in normal optional components.

Here is how it looks in the front-end:
By default, WooCommerce sets up a placeholder image for any products that have no image. This is applicable to Option None as well.
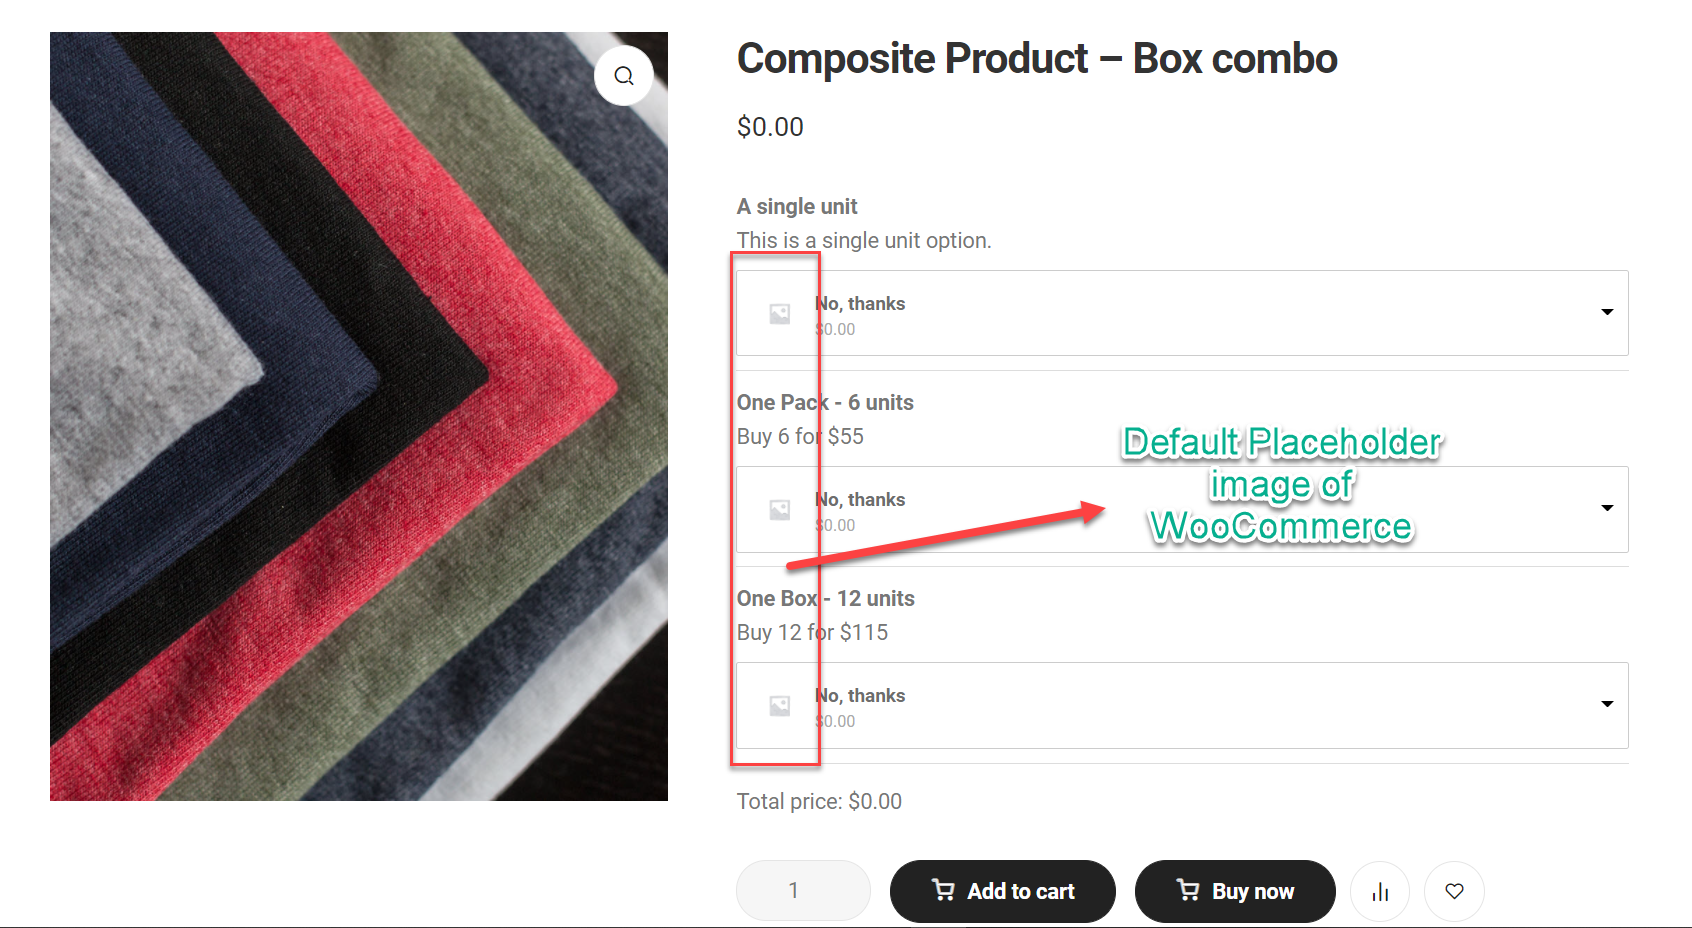
You can go to the WooCommerce >> Settings >> Products >> Placeholder image to change the setting.
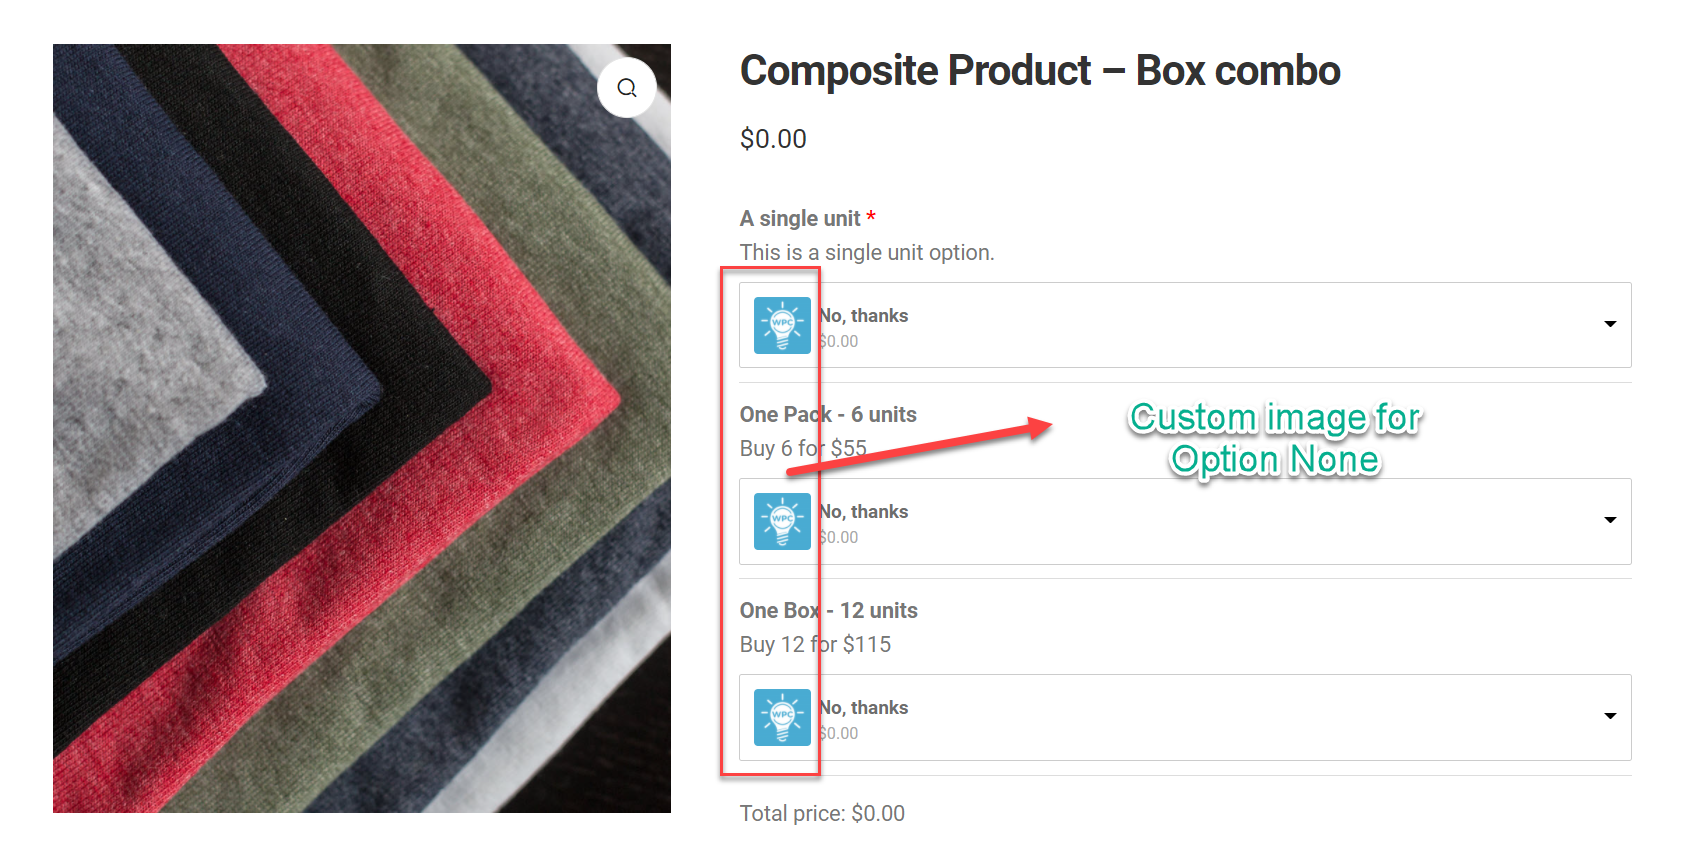
You can read more about Option None here: https://doc.wpclever.net/docs/wooco/faqs/question-17-option-none-101/.
9/ Use checkbox instead of Option none: If you’d like to hide Option none for optional components and show a checkbox for customers to choose which to buy, please choose “Yes”. In the front-end, all optional components with Option none will be changed into the following display:

Users can configure all checkboxes checked by default for both required and optional components by choosing Yes for the below option:

10/ Total text: Users can enter a new phrase for the Total in the box. For example: “Total amount.” You can change the option text by entering a new phrase in the Localization tab.
11/ Saved text: Users can enter a new phrase for the Saved text in the box. The default text is to display the actual discount applied to your composite product. You can change the option text by entering a new phrase in the Localization tab.
For example: You have entered a 20% discount for all components (the “Discount” option in the composite page), then by default, the Saved text would be: “Saved: 20%”.
See more about this in the Composite Details section >> Pricing & Discounts >> Saved Text.

12/ Change price: Choose “Yes” to make the price updated accordingly when there is a change in the quantity or price.

13/ Link to individual product: Choose how you’d like the listed component to be previewed by customers/ visitors:
- Yes, open product page: When this is chosen, customers can click on the button to go to the individual product page.
- Yes, open a quick view popup: If you have installed the WPC Smart Quick View plugin, you can choose this option to allow component products to be previewed in a quick view popup when customers press on the button at the end of the component.
- No: Prevent customers from clicking through components to go to individual product pages.

